使用JavaFX写一个计算器的图形交互界面(超级详细!)
源码
先给大家看看效果图:

下面教大家如何一步一步写出这个界面。
整个界面是定义大小
1 | primaryStage.setScene(scene);//设置初始的场景 |

1 | Button View = new Button("查看(V)");//设置按钮的文本 |
整个就是一个VBOX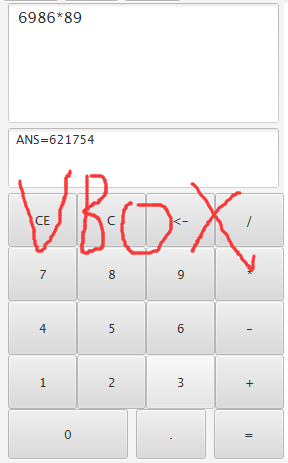
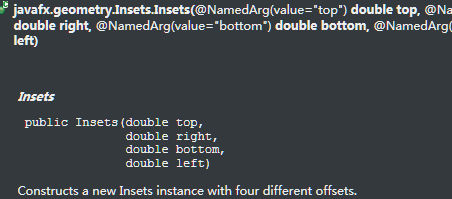
1 | TextArea text = new TextArea(experssion); |
计算日期又可以设置是一个pane
1 | Label label = new Label("选择所需的日期计算");//设置标签里面的内容 |
整体的布局就已经介绍完,还有事件驱动本文章这里就先不介绍。
本博客所有文章除特别声明外,均采用 CC BY-NC-SA 4.0 许可协议。转载请注明来自 Barry!

评论